
Converting a petrol tricycle to electric:five steps, 35–45 minutes per vehicle
The answer first: two experienced technicians convert a petrol tricycle in 35–45 minutes following the standard sequence. There are only five steps — strip the drivetrain, bolt the battery bracket, couple the motor to the differential axle, plug in the BMS and harness, then calibrate and run a 5km loaded road test. What decides the outcome is not hands-on skill but three things: whether the bracket reuses the original chassis holes, whether motor torque matches the payload, and whether the controller current limit is aligned with what the pack can deliver. This page walks the sequence as it is recorded at the conversion bay, and sets out which vehicles should not be converted at all.
verifiedStep order, removed mass and vibration figures come from recorded conversion bays; the signed specification sheet shipped with your container governs.
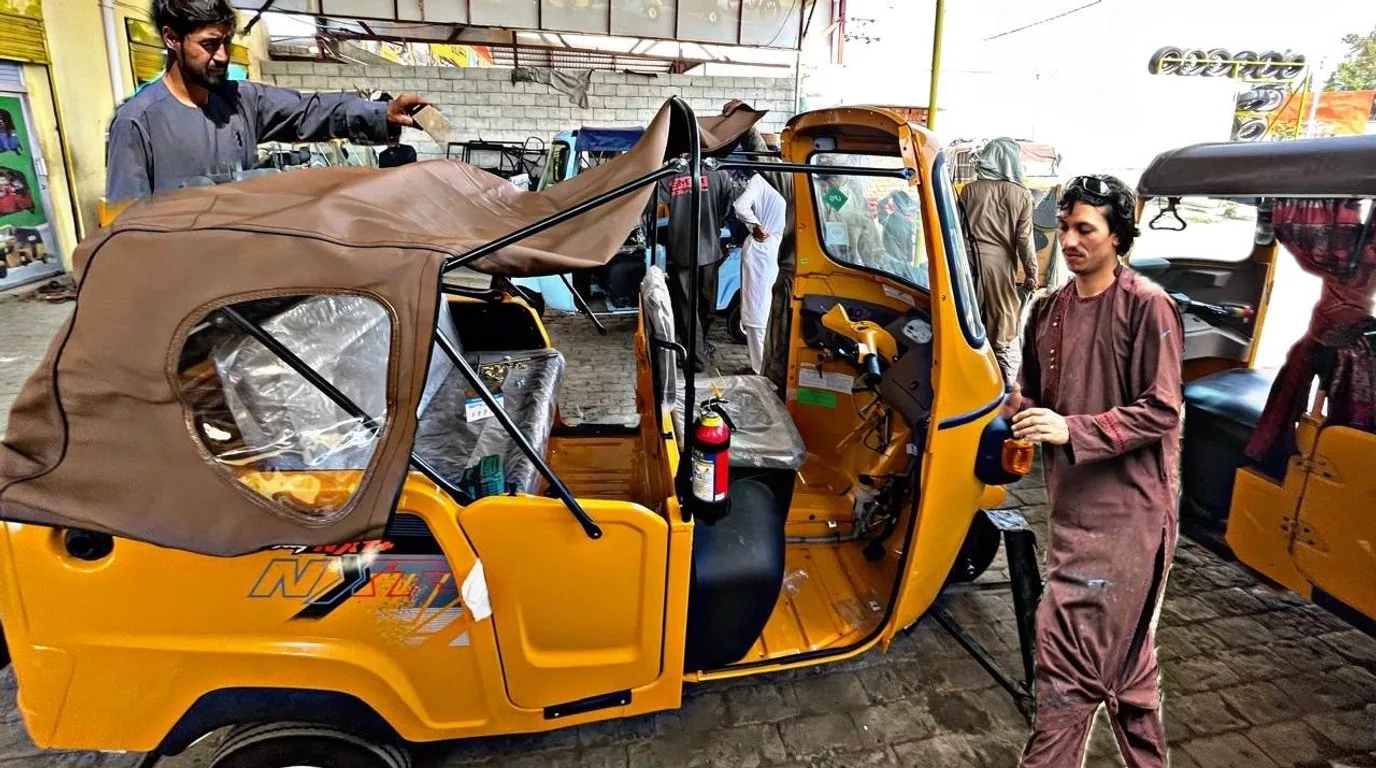
The five steps: what to do, what to watch, and where it goes wrong
Two experienced technicians follow the standard sequence with no frame cutting and no welding. A 5km loaded road test and a signed handover sheet close every build.
- 01oil_barrel
Drivetrain removal and ballast assessment
What to do: drain residual fuel and remove the tank, carburettor, exhaust, ageing two- or four-stroke engine and recoil starter. Measure static front and rear axle load, then clean the installation bay.
Watch: about 48–65kg comes off the vehicle | Common error: stripping first and measuring later, so the ballast baseline is lost and the pack position becomes guesswork - 02handyman
Bolt the anti-vibration stamped bracket
What to do: the 3mm galvanised heavy-duty bracket locks into the original chassis bolt holes (factory threads align exactly). The LiFePO4 pack drops in and is secured with double anti-release clamps.
Watch: vibration verified to 3G, grade 10.9 high-strength bolts | Common error: welding or drilling to save time, which destroys the factory safety structure and any chance of reversal - 03settings
Couple motor to differential axle
What to do: install a 3kW–5kW mid-drive PMSM or an integrated differential unit on the rear axle housing, align the driveshaft flange (deviation < 0.5°), grease and secure the torque arm.
Watch: 1:8.6 reduction ratio as standard for loaded torque | Common error: forcing a misaligned flange, which shows up a few hundred kilometres later as oil seal seepage and gear whine - 04power
Plug in the smart BMS and vehicle harness
What to do: connect the high-current main terminals, then plug the smart BMS into the throttle, gear selector and brake cut-off in one action. An integrated pre-charge resistor prevents arcing at connection.
Watch: dual fuses plus an independent 12V step-down supply | Common error: taking 12V straight off the bus for the headlight, which burns the lighting assembly and cluster the moment it switches on - 05speed
Upper-computer calibration and road validation
What to do: connect the controller over Bluetooth or with a handheld tool and write the payload and wheel-diameter parameters. Verify hall self-learning and cluster SOC accuracy, then run a 5km loaded acceleration, braking and hill-hold test.
Watch: vehicle released only against a signed handover checklist | Common error: releasing the vehicle uncalibrated, leaving visible speed and state-of-charge error and unmanaged shift distance
Motor and battery configuration by original displacement
Original displacement sets the everyday payload and the expected top speed, which sets motor rating. Daily distance and route gradient set pack capacity and platform voltage. Size the two separately rather than guessing both at once.
| Original displacement / vehicle | Recommended motor | Battery voltage and capacity | Top speed (loaded) | Target range | Standard conversion time |
|---|---|---|---|---|---|
| 100cc class (light two-wheeler / mini shuttle) | 2.5kW hub motor · 4.2kW peak | 72V 45Ah (3.24 kWh), quick-release carry handle | 70 km/h | 85 – 100 km | 25 minutes |
| 125 – 150cc (3+1 passenger) | 3.5kW PMSM · 6kW peak | 60V 105Ah (6.3 kWh), flame-retardant aluminium case | 50 km/h | 110 – 130 km | 35 minutes |
| 150 – 175cc (wide-body passenger) | 4.2kW vector sine-wave · 7.5kW peak | 72V 120Ah (8.64 kWh), automotive blade cells | 55 km/h | 135 – 150 km | 40 minutes |
| 200cc class (1 tonne cargo / heavy open bed) | 5.0kW high-torque integrated differential · 9.5kW peak | 72V 150Ah (10.8 kWh), dual-module cold-rolled steel | 45 km/h (800kg payload) | 95 – 115 km | 45 minutes |
Factory-calibrated values with a 1:8.6 reduction ratio as standard. Motors, controllers and harnesses are tiered by displacement and brackets use platform-specific tooling, so tiers cannot be mixed; non-standard vehicles need a 3D chassis reverse scan for custom stamped brackets. Range moves with payload, gradient, tyre pressure and riding style.
Specification notice:The figures above are engineering reference values. They may differ with production batch, configuration and actual duty cycle, and the percentages for life, efficiency, availability and coverage are engineering estimates and bench references. Contact us for the detailed specification sheet.
Weld-free brackets versus cutting and welding
Cut the frame and weld
A permanent structural change- cancelFrame structureWeld heat alters the local metallurgy and permanently changes the factory safety structure
- cancelReversibilityOnce cut and welded it cannot be returned to standard, which affects resale value
- cancelLoad pathThe weld becomes a new stress concentration that needs additional inspection under vibration
- cancelCorrosionWelding breaks the factory coating, so rust starts at the weld in monsoon wading
- cancelRegistrationA structural frame change has to be re-declared in most markets; destination law governs
Weld-free stamped bracket (this route)
Non-destructive in-position swap- check_circleFrame structureBolted onlyThe bracket locks into the original chassis holes: no cutting, no welding, safety structure intact
- check_circleReversibilityDrivetrain can be removedThe frame is unmodified and the factory mounting points remain, so the conversion is reversible in principle
- check_circleLoad pathReuses factory holesIt follows the original engine mounting and locking points, so load flows as designed
- check_circleVibrationVerified to 3G3mm galvanised bracket with grade 10.9 bolts and anti-vibration pads
- check_circleBallast42:58 axle ratioCornering lean held below 14°, removing nose-lift under braking and roll-over risk in tight turns
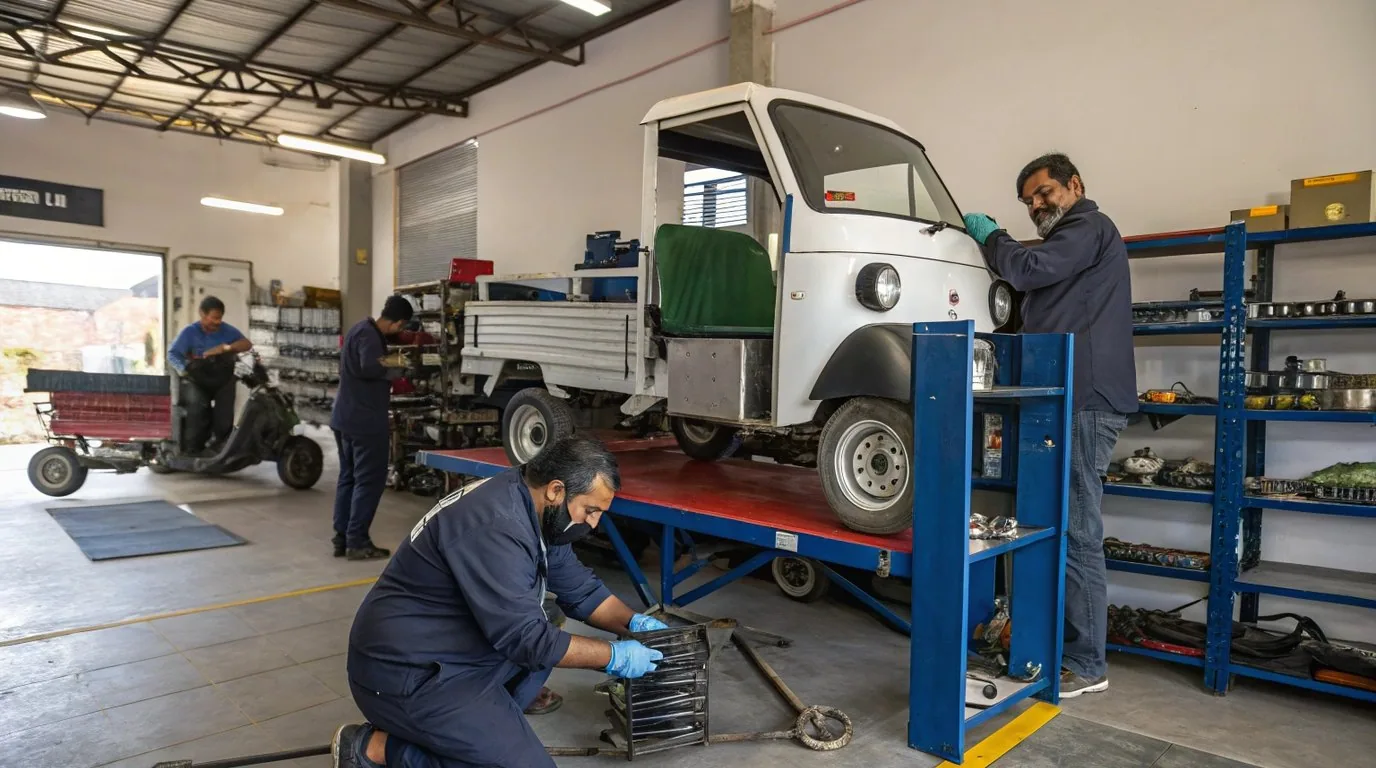
Four cases where we advise against converting
A retrofit only makes sense if the donor vehicle is still worth converting. In these four cases we say so at survey stage rather than taking the order and fixing it later — braking, load carrying and compliance all stay with the vehicle afterwards.
- Corroded, deformed or cracked frame: perforation, cracking or straightening marks leave the original holes unable to act as load anchors. A converted vehicle like this is more dangerous than the original, so we decline.
- The battery box will not take the pack: a 24S pack is larger than the same-capacity 16S pack. If it will not fit under the passenger seat or in the chassis bay, step down the platform voltage or reduce capacity instead of forcing it.
- Controller and cluster are not rated for the higher voltage: before changing platform voltage, verify the controller MOSFET rating and current limit together with the input range of the cluster and DC-DC. If all three do not line up, do not raise the voltage.
- Brakes and tyres are already worn out: tyres, brake shoes and body panels are not in the kit. Repair them first, or the converted vehicle still stops like the old one.
- Original brand and chassis model — to match bracket holes and harness length
- Original displacement and everyday payload — to set the motor rating tier
- Daily distance and route gradient — to set pack capacity and platform voltage
- Destination country and port — whether a drivetrain change may be registered locally
Converting a petrol tricycle to electric: six common questions
How long does one conversion take?expand_more
How much actually comes off in step one?expand_more
Without cutting or welding, can the pack really be secured?expand_more
What is fitted to a 100cc, 150cc or 200cc vehicle?expand_more
How are the battery and motor warranted?expand_more
Will the converted vehicle be road legal?expand_more
Four pages to read next
Electric tricycle conversion kit
The full bill of materials, displacement mapping, retrofit-versus-replace routes and the road-legality notes.
See the kit pagearrow_forwardGlobal retrofit engineering guide
Workshop-floor records, the logic behind the weld-free bracket holes, and tropical heat and monsoon wading countermeasures.
Open the guidearrow_forwardPassenger three-wheeler packs
An ultra-slim under-seat chassis that removes the dead lead-acid weight the original vehicle carried.
See the three-wheeler rangearrow_forwardSwappable battery pack on 12S / 16S / 24S
Slide, handle and side-draw release with a >10,000 insertion life, plus charger matching — the alternative to a fixed pack on a converted tricycle.
See the swappable packarrow_forward